Wormholes
Wormholes allow users to teleport between different workspaces directly without detouring through RAUM Home.
Understanding Wormholes
A wormhole describes the ports of both sides and the tunnel in between and its settings (Wormhole = ( A tunnel B )).
While Wormholes bridge two workspaces together, it does not belong to one or the other workspace – it’s an independent entity in the RAUM cosmos. Therefore, wormhole connections are not dependent on the save status of the workspaces.
- Administrators on any end of a tunnel, equally have the right to change settings, placement and deletion.
- Wormholes can be created and placed in edit mode but are saved independently, edit mode setting has no effect on Wormhole behaviour. Therefore:
- Wormholes do not store with the workspace save history
- Wormholes do not restore with initial state when previously deleted
- Wormholes cannot be created or used or saved with templates
- Wormholes become automatically deleted on both sides when one of the ports or workspace is deleted.
- Wormholes can be setup and removed at any time.
- Wormholes grant temporary access to the destination Workspace regardless of membership
Wormhole Port
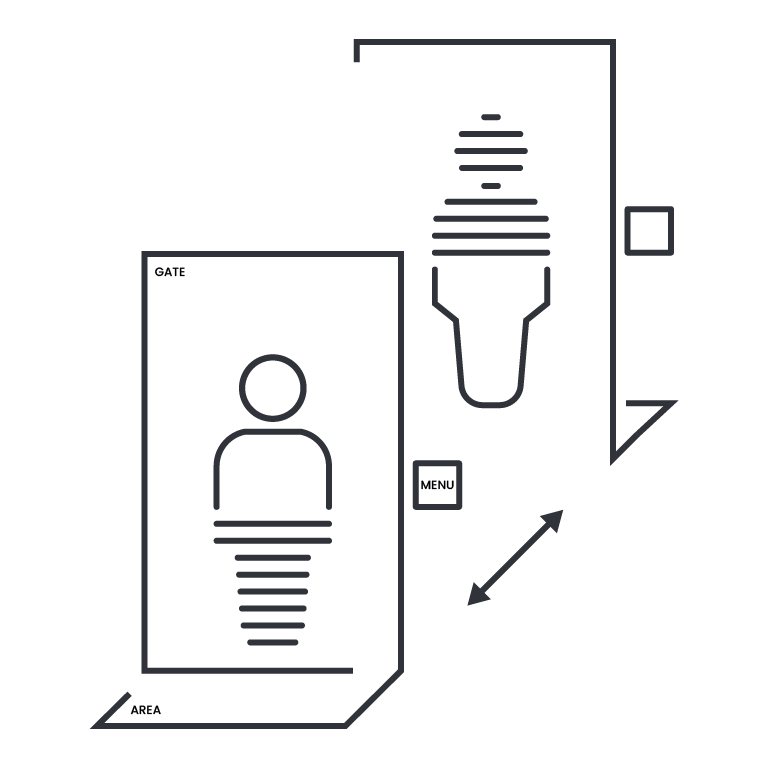
A Wormhole Port represents the end point of a wormhole and is positioned in the respective workspace world.
- Its position in the workspace defines the point of departure and / or arrival.
- To engage travel, users need to touch the hit area on the Port’s Gate
- Administrators can position the ports no active edit mode or active saving is needed to store the Ports position. Grab the Port on its outer edge to reposition.
- Admins can select their preferred behaviour of the Port and Wormhole via the Menu or Remote Menu.
Setting
Wormhole settings are accessible through the Port’s Menu for user roles Administrator or higher only.
Activate and Deactivate a Wormhole
This button toggles the activation status of a wormhole. Deactivating a Wormhole affects both ends and hides the Port for the users. For user role Administrators or higher Port are displayed ghosted.
 Activated / Deactivated

 Activated / Deactivated
Travel Direction
Defines in which directions users can travel.
- Bidirectional A↔B
- Directional (One Direction Only) A→B
- Directional (One Direction Only) A←B
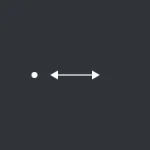 Bidirectional A↔B
 Directional (One Direction Only) A→B
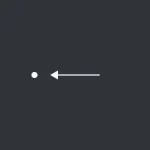 Directional (One Direction Only) A←B
Note: Directional travel will always hide the destination Ports for the Users, while departure stays visible. Again for user roles Administrator and above Port are displayed ghosted.
Travel Mode
With travel mode you can decide how travel is engaged.
- Individual – each user has to engage travel for oneself
- Group – one user can engage travel for a group of users within the area
- Attended – user levels host and above can engage travel for a group of users within the area
 Individual – each user has to engage travel for oneself
 Group – one user can engage travel for a group of users within the area
 Attended – user levels host and above can engage travel for a group of users within the area
Area
Users inside the area are designated to travel. Areas are displayed on front of the Port’s Gate on the floor, it actually is a volume sized in the height of the Port.
- Area Size – Defines the size of the area.
- Small
- Medium
- Large
- Workspace wide
- Area Visibility – toggles the area visibility
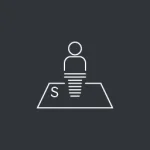 Small
Small Medium
 Large
Large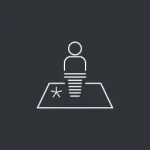 Workspace wide
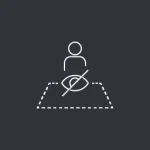 Area Visibility – toggles the area visibility
Access
Access rules for workspaces apply. Each workspace login attempt is access checked, when users fail one check they are denied access. Access settings are defined per workspace and affect access through Wormhole and standard Workspace access equally.
How to Set Up a Wormhole
- As the Wormhole appears in your workspace it needs to be positioned in both workspaces (departure and arrival) and configured via the menu.
- Screenshots are automatically captured for each wormhole after it has been placed and are updated whenever the wormhole is repositioned.
Please note that you need at least administrator rights to create wormholes.
Tip: If a wormhole displays a default placeholder image, it has most likely not been positioned yet. Make sure you have admin rights in the destination workspace, or ask the workspace administrator to place the wormhole.
Delete
Deletion of a wormhole or a port on any side of the tunnel affects the whole wormhole system / delete button deletes the entire wormhole.
Prepare the workspace for wormhole access
Look for the Wormhole Access section in the Workspace Configuration and change the settings as needed.
- Allow Wormhole Access – When you switch this on your workspace will appear in the wormhole booklet within your team. Other workspaces on your team can now access your own workspace using wormholes.
- Set a user role for team members who aren’t members of this workspace already. This role is assigned for temporary access through a wormhole
- Allow Alien Access – when you switch this on, your workspace can be accessed from other teams and workspaces on the RAUM platform by alien users who aren’t members of your workspace or team.
- Set a user role for anyone not in this workspace or team – i.e. aliens. This role is assigned for temporary access through a wormhole.
Note: you can only set up wormholes to foreign places if you’re an administrator on both workspaces.
Note: make sure you check the Access Control Section to get rid of any limits on entering this workspace.
Use of Wormholes
Depending on the settings, users can initiate to travel by simply touching the gate of a port. The access permissions specified by the destination workspace and its team are checked before each travel.
To initiate teleportation through a wormhole, users must be located within the wormhole’s activation area. Depending on the wormhole configuration, users inside this area are either teleported together as a group or individually.
links